0
£0.00
0 items

Please read our Fitting Guide carefully before installing your splashback.
For splashbacks with fixing holes, we provide a fixing kit which includes screws and screw caps.
Splashbacks without fixing holes require a suitable silicone for fitting. Silicone is available to buy when ordering your splashback from us. However, should you choose not to purchase from us, please ensure that you use a low modulus, neutral core silicone - other sealants may cause a reaction with the paint or print on the back of the glass splashback.

Unpack your glass splashback very carefully. Always place the splashback on a soft surface.
The glass will have foil backing applied to the rear, this will stay on the glass.
Please check that the size of the glass is correct, we recommend dry fixing the glass before drilling the wall or applying adhesive.
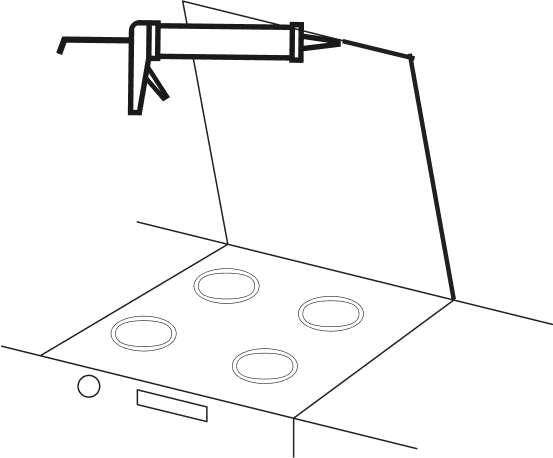
If your splashback is free standing you will need a support at the bottom, this can be removed after 24 hours once the adhesive has cured.
If your splashback is sitting on a worktop or upstand no support is required.
Apply enough strips of adhesive to the back of the glass from one side to the other in 100mm intervals.
Carefully place your splashback into the desired position and press firmly against it for 30 seconds.
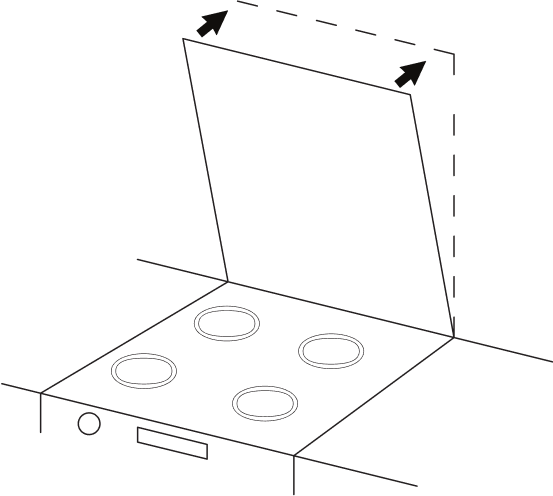
Position your splashback on to the wall and mark each hole with a pencil, making it very clear where the centre of the hole is.
Using a digital detecting device, check that there are no pipes or cables behind where you have marked.
Drill using the correct drill bit that matches the rawl plug and wall material.
Carefully place your splashback to the wall ensuring the holes line up.
Slowly screw in all the screws supplied making sure not to over tighten, once you have fixed all the screws the chrome cover caps can be tightened by hand.


 Abstracts
 Food & Drink
 Popular Kitchen Splashbacks
 Vintage
 Highland Cows
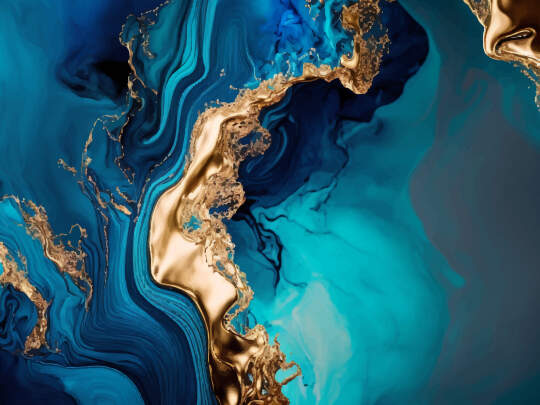
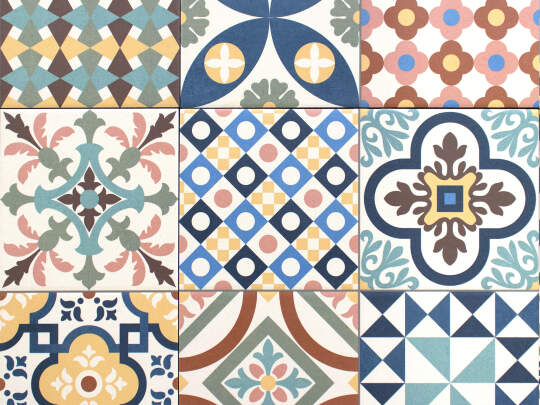 Marble, Tiles & Textures
 Animals & Birds
 Flowers & Forests
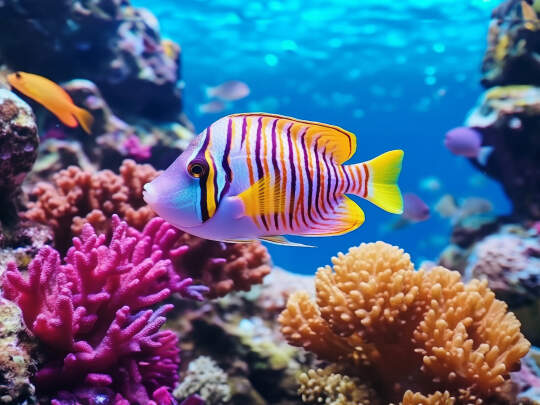 Beaches, Sealife & Waterscapes
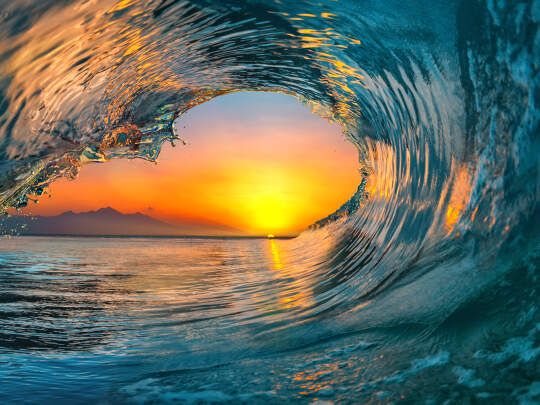 Popular Basin Splashbacks