0
£0.00
0 items

Make sure the wall is:
Suitable surfaces include tiles, plasterboard, cement board, or existing panels. Remove any dust, grease, or loose material before starting.
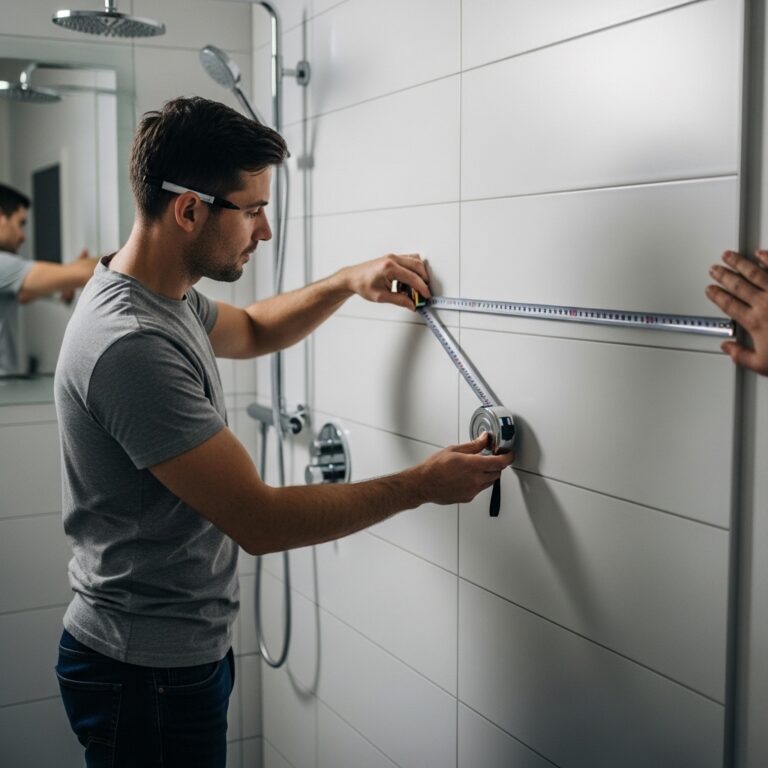
Before fixing anything:
Make any adjustments before applying adhesive.
Panels can be cut on-site using standard power tools.
This allows you to adjust for:
Apply neutral cure silicone adhesive to the back of the panel:
You can use temporary supports if needed while the adhesive sets.
Repeat the process for each panel:
Apply sanitary silicone to:
Smooth the sealant for a clean, waterproof finish.
Leave the panels for approximately 24 hours before exposing to water.
Wipe down the panels using a soft cloth and non-abrasive cleaner.
Your shower panels are now ready to use.
Important:
Always use neutral cure silicone and ensure all joints are properly sealed to maintain a waterproof installation.


 Abstracts
 Food & Drink
 Popular Kitchen Splashbacks
 Vintage
 Highland Cows
 Marble, Tiles & Textures
 Animals & Birds
 Flowers & Forests
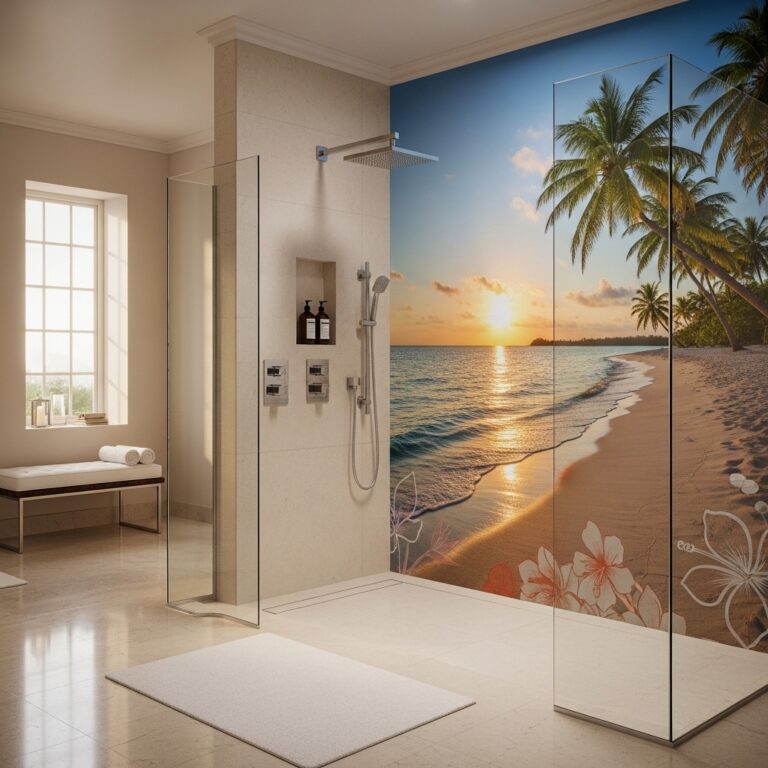
 Beaches, Sealife & Waterscapes
 Popular Basin Splashbacks
 William Morris style/Arts & Crafts
 Metals